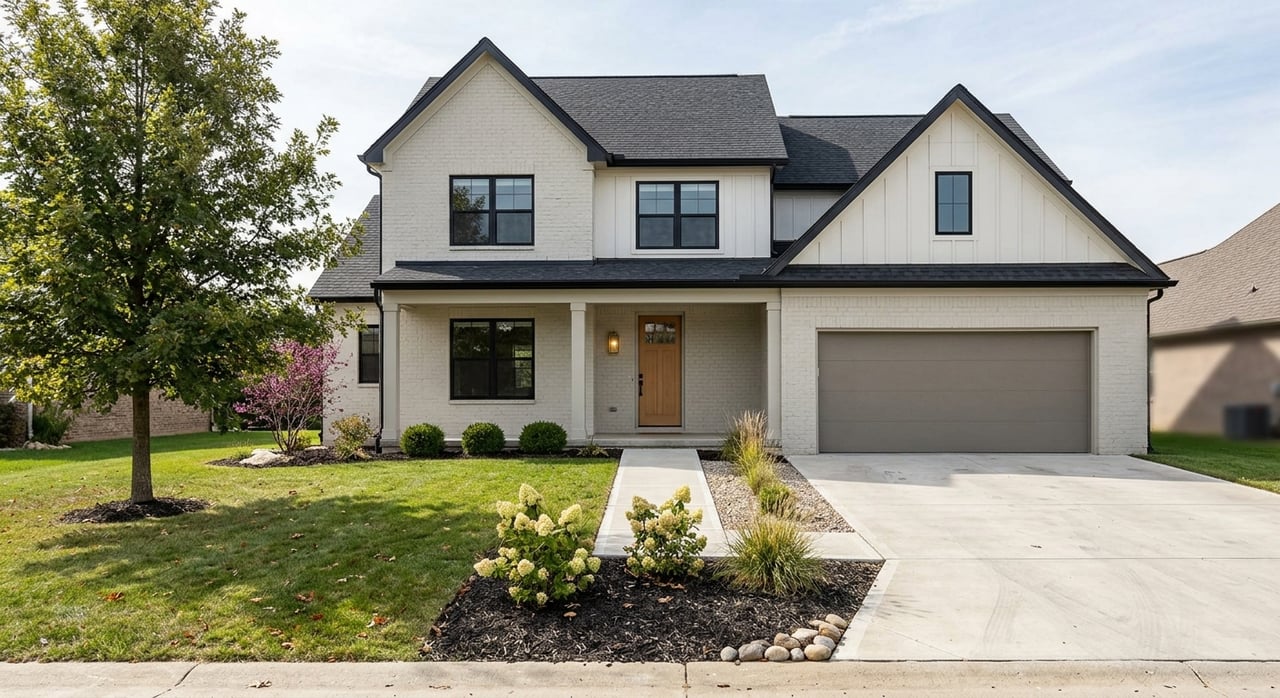
Buying a brand-new home in Broken Arrow can feel exciting right up until you reach the walkthrough and realize how many details you need to check. If you are buying new construction, this is your chance to slow down, compare the home to what you expected, and catch issues before closing. This guide will help you know what to look for, when to schedule key walkthroughs, and how to make sure city inspections, your punch list, and your closing timeline all stay aligned. Let’s dive in.
Why walkthroughs matter in Broken Arrow
A new-construction walkthrough is more than a quick tour with the builder. In Broken Arrow, the city requires permits for new construction, performs inspections during the build, and does not allow occupancy until final inspection is approved and a certificate of occupancy has been issued, according to the City of Broken Arrow permitting and licensing page.
That said, your walkthrough serves a different purpose than a city inspection. The city’s one- and two-family inspection checklist states that it is only a general guideline and is not intended to cover every code item. For you as a buyer, that means the walkthrough is your opportunity to visually review the home, compare it to the plans and selections, and document anything that needs attention.
Ask what stage the home is in
Before you schedule a walkthrough, ask the builder exactly where the home is in the process. Broken Arrow’s development process moves from plan review to permits and approvals, then inspection, then occupancy.
That simple question can help you plan the right visit at the right time. You can ask whether rough-ins, framing, and final inspections have already been completed, and whether the home is ready for a pre-drywall review, a final walkthrough, or both.
Pre-drywall walkthrough checklist
The pre-drywall walkthrough is often the most important visit for a new build. Broken Arrow requires plumbing rough-in, water service, sewer tap, mechanical duct overhead, gas line, and electrical rough-in inspections before concealment, based on the city’s inspection checklist.
Once insulation and drywall go up, many important parts of the home are no longer visible. That is why this stage gives you the best chance to compare the home to the plans and spot anything that looks different before the walls close.
What to confirm at pre-drywall
Use this walkthrough to focus on the biggest visible items:
- Room layout matches the plan
- Door openings are in the expected locations
- Window openings look correct
- Stair placement matches the layout
- Plumbing stub-outs are where you expect them
- HVAC duct locations make sense
- Electrical rough-in locations match your selections and daily needs
If anything looks off, take photos right away. Then send the builder a written list so there is a clear record before the work is covered.
What to check on the site
The city checklist also gives you a few practical items to notice during construction. You can ask to see the permit card and confirm that the address is posted and visible from the street, since the city requires both during construction under its inspection checklist.
You can also look at general site condition. The same city checklist says construction sites should have a trash container on site, porta-johns in place, and erosion control maintained.
Final walkthrough checklist before closing
Your final walkthrough should happen early enough for the builder to respond to punch-list items before closing. The CFPB explains in its mortgage closing checklist that closing is likely the most important stage of the homebuying process, should not be rushed, and includes a Closing Disclosure that must be delivered three business days before closing.
For a new-construction home in Broken Arrow, timing matters. The walkthrough should give you enough room to identify issues, send a written list, and allow time for repairs or follow-up before you sign final closing documents.
Plumbing items to test
During the final walkthrough, test every plumbing fixture you can.
- Run sinks, showers, and tubs
- Flush all toilets
- Check water pressure
- Confirm hot water is working
- Watch how drains clear
- Look for leaks under sinks and around fixtures
These checks line up with the city’s final plumbing review, which includes items such as the water heater, venting, temperature and pressure relief valve, dishwasher, disposal, trap leaks, and appliance installation on the Broken Arrow inspection checklist.
HVAC items to test
Do not assume the heating and cooling systems are fine just because the home is new. Turn the system on and confirm it is operating as expected.
Check for:
- Cooling or heating response
- Visible condensate drainage
- Attic access and walkway
- Working clearances around equipment
- Auxiliary drain pan or safety switch details, if present
These items reflect the city’s final mechanical inspection checklist.
Electrical items to test
A quick electrical review can help you catch frustrating issues before move-in.
Check these basics:
- Breaker labels are present
- Bathroom receptacles work
- Laundry circuit is installed
- Garage lighting and receptacles work
- Attic, crawlspace, or unfinished area lights or receptacles are present where applicable
- GFCI and AFCI protection appears to be installed where required by the city checklist
If something does not work, add it to your punch list and send it in writing.
Doors, windows, and safety items
Open and close every door and window in the home. That includes the garage-to-house door.
Make sure:
- Exterior doors seal properly
- Locks work from the inside without a key
- Garage-door safety hardware appears functional
- Handrails and guard rails are installed where needed
- Carbon monoxide alarms are installed
Broken Arrow’s final building checklist also includes exterior penetrations, landings, attic access, insulation, vents, and other visible safety and completion items.
Exterior items to review
Before you leave, walk the full exterior of the property. Broken Arrow’s final building inspection occurs after the building is complete and the yard and driveway are complete, according to the city’s inspection checklist.
Look for:
- Final grading around the home
- Driveway and landing completion
- Visible address numbers
- Sealed exterior penetrations
- Utility access points that are still unfinished
- Sewer cleanout and backwater valve access, if visible
- Erosion control that still needs attention
City inspection vs. your inspector
One of the biggest mistakes buyers make is thinking a city inspection replaces an independent home inspection. It does not.
Broken Arrow inspectors enforce code and handle approvals related to occupancy, as explained by the city’s inspection and code compliance information. Your independent inspector works for you and evaluates condition in a broader way.
Fannie Mae recommends hiring an independent home inspector who is accountable to the buyer, attending the inspection if possible, and talking with your real estate agent afterward about what is serious and what may be negotiable, according to its guide on building your homebuying team.
In Oklahoma, home inspectors are licensed through the state, so you can verify credentials through the Oklahoma Construction Industries Board rather than relying only on a builder recommendation.
How to handle the punch list
A punch list works best when it is simple, specific, and documented. If you notice a defect, incomplete item, or difference from the plan, take a clear photo and send a written note to the builder.
Try to include:
- The room or area
- A short description of the issue
- A photo
- The date you noticed it
- Whether it affects function, safety, or finish
Keeping everything in writing helps reduce confusion and gives you a clear record of what was discussed.
Best timing for each walkthrough
If the home is still being built, ask the builder to schedule walkthroughs around major milestones so important items are not concealed too early. Based on Broken Arrow’s inspection sequence, the smartest approach is usually to review the home at pre-drywall and again before closing.
Here is a simple timeline to follow:
| Walkthrough stage | Best time | Main goal |
|---|---|---|
| Pre-drywall | After rough-ins are visible and before insulation or drywall | Compare layout, openings, and rough-in locations to plans |
| Final walkthrough | Before closing and early enough for repairs | Test systems, note finish items, and confirm completion |
This two-step approach helps you see both the hidden structure stage and the finished product stage.
A practical checklist to bring with you
If you want one simple list to carry into the walkthrough, start here:
- Confirm the home stage with the builder
- Ask whether rough-ins, framing, and final inspections are complete
- Verify permit card and visible address during construction
- Review room layout against plans
- Check doors, windows, stairs, ducts, plumbing, and electrical locations at pre-drywall
- Test all plumbing fixtures at final walkthrough
- Run heating and cooling systems
- Check outlets, lights, breaker labels, and safety devices
- Open and close every door and window
- Walk the exterior for grading, driveway, sealing, and address visibility
- Create a written punch list with photos
- Schedule an independent home inspection
- Confirm final inspection approval and certificate of occupancy before possession
A new-construction home can offer peace of mind, but only if you take the walkthrough seriously. If you are buying in Broken Arrow, you deserve a clear process, good communication, and a careful review before you get to the closing table. If you want experienced local guidance through a new build, from builder communication to walkthrough planning, connect with Monica Castillo.
FAQs
What should you bring to a new construction walkthrough in Broken Arrow?
- Bring your plans or selections sheet, a phone for photos, a notepad, and a checklist so you can compare the home to what you expected and document issues clearly.
When should you schedule a pre-drywall walkthrough for a Broken Arrow new build?
- Schedule it after rough-in items are visible and before insulation and drywall are installed, since Broken Arrow requires several rough-in inspections before concealment.
Does a city inspection replace a home inspection for a Broken Arrow new construction home?
- No. City inspections focus on code and occupancy requirements, while an independent home inspector evaluates the home for you and may catch issues outside the city’s limited checklist.
What should you test during a final walkthrough for a Broken Arrow new construction home?
- Test plumbing fixtures, heating and cooling, outlets and lights, doors and windows, garage access, visible exterior completion items, and anything listed on your selections or punch list.
Can you close on a new construction home in Broken Arrow before final approval?
- Broken Arrow states that a building may not be occupied until the final building inspection is approved and a certificate of occupancy has been issued.